Afro hair + Beauty + Fashion + Fitness

Showing posts with label Tutorial. Show all posts

Mar 22, 2015

Braidout Video Tutorial For Natural 3C/4A/4B/4C Hair || UK Blogger || #MotionsBA

Braidout Video Tutorial For Natural 3C/4A/4B/4C Hair || UK Blogger || #MotionsBA


I am back with another Youtube video guys. I actually filmed it over a month ago but because I was still stupidly playing music in the background while filming, it kept getting copyrighted and I re-edited and re-uploaded three times. Anyway it is finally up. I would love some feedback on how I can improve my videos and or video suggestions! :)


Braidout Video Tutorial For Natural 3C/4A/4B/4C Hair


I didn't mention any specific products for this tutorial only because I use different products all the time at the moment. I still don't really have a favourite combination and I have been reviewing a lot of different products. However, as you can see in the video I do use Eco Styler gel for my edges (I took the pictures before I did my edges, I forgot lol) and Dove Serum to prevent frizz while taking the plaits down.


Braidout Video Tutorial For Natural 3C/4A/4B/4C Hair


Do you remember my first ever braid out post from last year (here)? My hair almost looks shorter & tbh I think I prefer my results from last year. I mean we all know what shrinkage is but I can't fully understand how my hair actually looks shorter even though it's grown a lot, oh well!
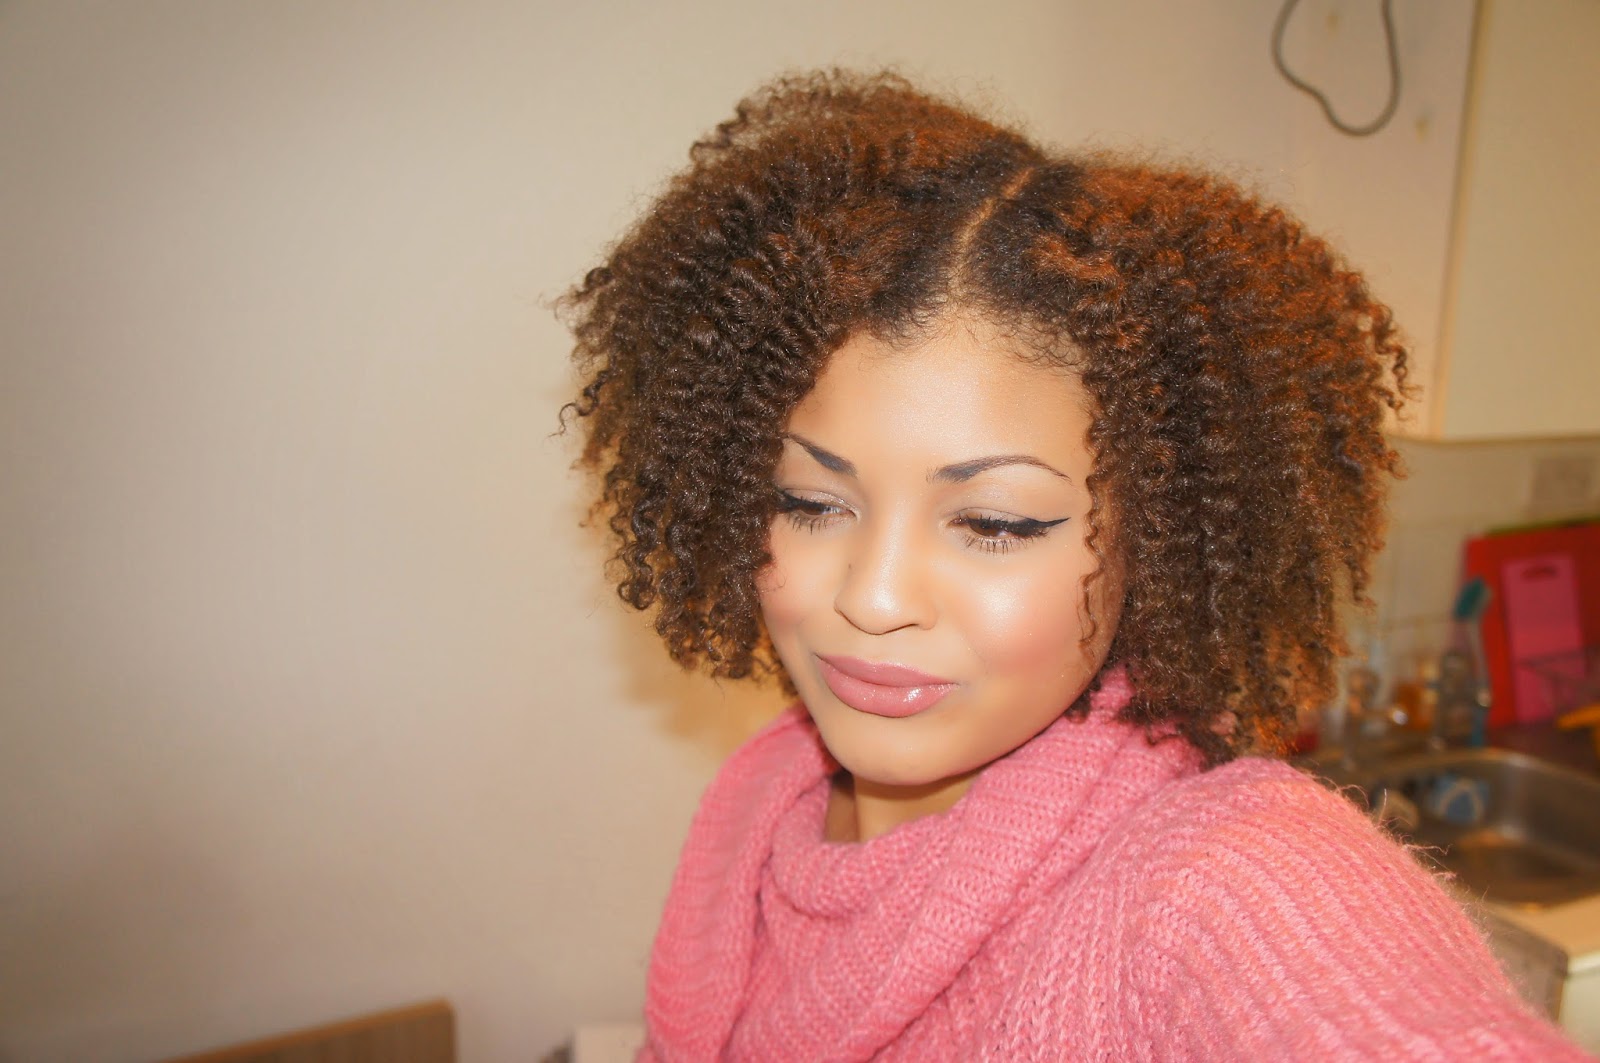

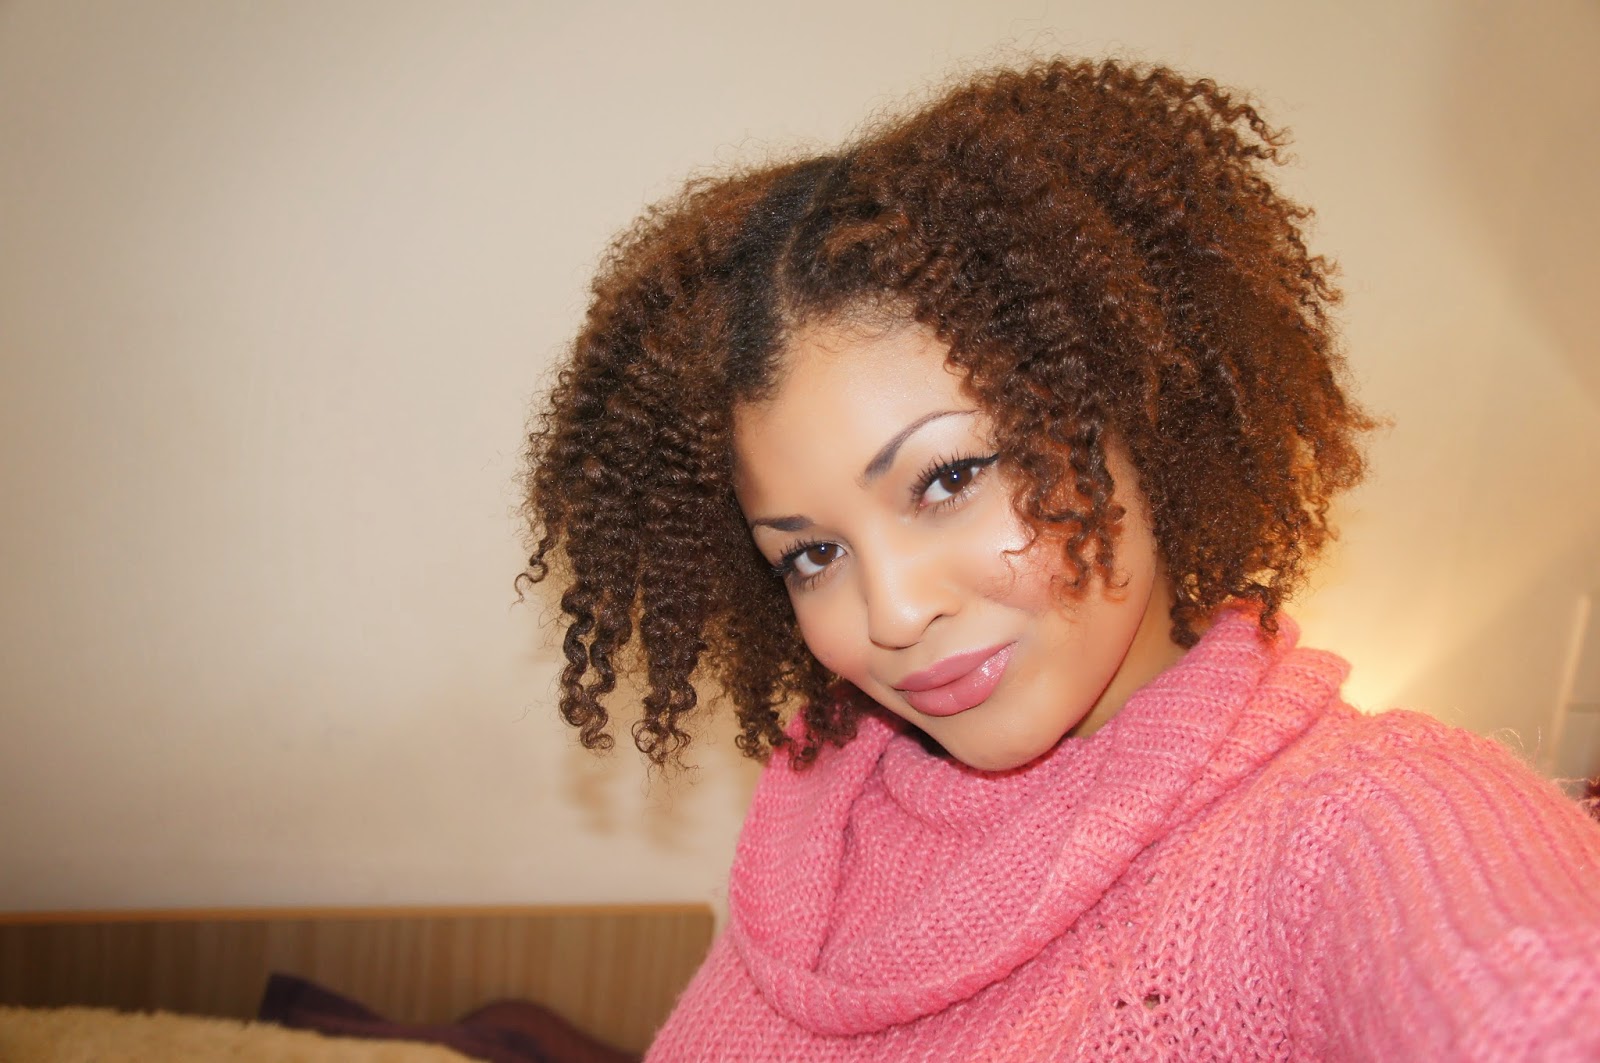
Braidout Video Tutorial For Natural 3C/4A/4B/4C Hair


Braidout Video Tutorial For Natural 3C/4A/4B/4C Hair


Thanks So Much For Reading 
& Watching

xx

Instagram || Twitter  || Google+ || Baobella || Bloglovin || Facebook || Pinterest


Read more »

Mar 29, 2013

♥ Short Video Tutorial: Blue Eyeliner Using an Eyeshadow Stick

Short Video Tutorial: Blue Eyeliner Using an Eyeshadow Stick

Blue Winged Eyeliner Using MUA Makeup Academy Eyeliner Brush

Just wanted to share a really short and easy makeup tutorial of how to get a colourful winged eyeliner using only an eyeshadow stick/cream eyeshadow and a thin eyeliner brush. I was inspired by this lovely look by Nicoles Beauty. Her look is absolutely flawless though, but let's just say mine is a tutorial for beginners hey :) 

I used:


What do you think of this tutorial?
If you do makeup videos, link you channel & I'll check it out :)

xx


Read more »

Mar 23, 2013

♥ Youtube Tutorial: Super Easy To Do Smokey Eyes

Youtube Tutorial: Super Easy To Do Smokey Eyes


Ha-ha, my talking in the video is sooo awkwards, forgive me guys ! :)


I won't go into details of what I used and how, because you can see that in the video :)

Eyeshadows: Sleek Sparkle 2 Palette
Lips: Calvin Klein light pink lipstick
Lips: BodyShop Coconut Lip Gloss
Eyebrows & Transitioning shades: Wet & Wild Palette


What do you think of this look?
Please share & subscribe to my channel if u liked it

xx


Read more »

Mar 13, 2013

♥ 1st Video Makeup Tutorial! Tropical Colours Smokey Eye with Double Liner

1st Makeup Tutorial! Tropical Colours Smokey Eye with Double Liner


Hi everyone! Hope you will enjoy my first youtube makeup tutorial, it is a "mute" one as I still have nowhere to sit and talk to myself in private lol. Sorry if it's not the best filmed tutorial, angle is obviously from the side, some clips kind of disappeared  some editing disappeared as well so the video is a bit long. Anyway, please please share & let me know what you though? :) xx


Products Used:
-Sleek & INGLOT eyeshadows
-Sleek Face Form Palette
-Wet & Wild Eyeshadows
-MUA Makeup Academu Makeup Brushes
-NYC White Eyeliner
-INIKA Black Eyeliner
-2 True Liquid Eyeliner
-Natural Collection Mascara
-Magnifibre Lashes brush on fibres
-Witch Face Primer


What do you think? 

Any tips for me when doing Youtube makeup tutorials? :)
Please share if u enjoyed it

xx


Read more »

Feb 26, 2013

♥ Updated Everyday Eyebrow Routine & MUA Makeup Academy Eyebrow Brush E7 Review

 Updated Everyday Eyebrow Routine & MUA Makeup Academy Eyebrow Brush E7 Review

|| Check out my Eyebrow plucking chart || Check out my old Eyebrow routine  ||

A picture of Eyebrow routine using MUA Makeup Academy Eyebrow Brush E7


A picture of Eyebrow routine using MUA Makeup Academy Eyebrow Brush E7

1. Pluck excess hair and/or shape eyebrows
2. Use a brow spoolie to brush brows upwards
3. Fill in brows using a eyebrow powder/eyeshadow (I use the black Wet & Wild one)
4. Blend harsh lines out by going over the brows with the spoolie, blending the shadow out
5. Set with a eyebrow wax or gel
6. Highlight your brow (I used the shade on the far right from Wet & Wild)

I know some people actually have a whole routine for their eyebrows, using concealer, setting powder, wax, pencil and what not. Personally I don't think that's necessary if you have shaped your eyebrows properly. For a non- everyday eyebrow, I would just create harsher and more defined lines. Oh, and how my eyebrow routine has changed- I'm using a eyebrow brush, before I just used a pencil.

A close up and review of MUA Makeup Academy Eyebrow Brush E7

 Now to my thoughts on this MUA Makeup Academy Eyebrow Brush E7 (£1.50)
I've only ever used the Real Techniques eyebrow brush before, and I know a lot of people said it was too big. I can see why now. I'd say that one is best for use in the whole brow, after using a pencil or similar to define the brow. This MUA brush however, is perfect for defining your brows and creating pencil sharp lines (if wanted). The bristles are suupersoft and as with all MUA Makeup Academy makeup brushes the design is very nice and sleek. The fact that it only costs £1.50 is amazing as well!

What is your every day eyebrow routine (and/or your going out one)?
& what's your favourite eyebrow brush?

xx


Read more »

Feb 14, 2013

♥ DIY: Valentines Day Chocolate Recipe Swedish Style

Valentines Day Chocolate Recipe Swedish Style


Happy Valentines Day Everyone!

I've always loved Valentines day, it's a great day for being extra positive and grateful for the people around you. And for the single people- Valentines day has got nothing to do with couples, so I've never understood when single people "complain" on Valentines. It's just a chance to show your loved ones some extra love, doesn't have to be a partner. ♥

Now, to my post. As you probably know if you follow me on Instagram I am in Sweden for a few days for me annual "surprise my little sister for her birthday". She is turning 10 and I've surprised her every year for 4 years now, and she still didn't have a clue I was coming lol.

The chocolate on the picture are what we call "Ischoklad" in Swedish which means Ice Chocolate. They are really Christmas sweets but me and my little sister decided to make some today- and she came up with the idea to create the cute heart shape. So I decided to share them as Valentines Chocolates :)

Check out this GIF for instructions :)


How was your Valentines Day?
Will you be trying this?

xx


Read more »

Jan 25, 2013

♥ DIY Bentonite Clay, Green Tea & Argan Oil Face Mask

DIY Bentonite Clay, Green Tea & Argan Oil Mud Face Mask

Today I have got an exciting DIY to share with you. I've had this Bentonite Clay lying around for quite some time but after a few failed attempts at using it, I just put it aside. I should probably mention that my failed attempts were most likely due to be mixing the bentonite clay with a metal spoon which is the only thing you shouldn't do because it reacts with the clay which has some kind of electrical charge (lol not sure how that works, google it). 

The most common brand of Bentonite Clay is the Indian Healing Clay which I think is available at stores like Whole foods or online on sites like Amazon. Common uses are:
  • As an internal detox (sounds scary though)
  • As a mud face masked by mixing Bentonite Clay & Water, and sometimes Apple Cider Vinegar
  • As a hair clarifier by using the same recipe as above


 Bentonite Clay in your face is meant to draw all impurities and toxins out of the skin. I got the idea of mixing it with Green Tea after trying out the GlamGlow Youth Mud Mask which contains Green Tea leaves & Green Tea extracts. So I decided to give this clay another try.

Here is my Bentonite Clay, Green Tea & Argan Oil Mud Face Mask Recipe:

  • A bowl of water
  • Two Green Tea Bags
  • A wooden spoon to stir (or anything which is Not metal)
  • Bentonite Clay
  • An oil/essential Oil, I used Argan Oil


How to?

  1.  Add water to a bowl (optional: add 1/4 ACV* to the water, use Rose Water, Use Aloe Vera Juice) || Add a bag of Green Tea and let it brew for a few minutes || Add a few drops of the oil of your choice, I used Argan Oil
  2. Pour the leaves of one Green Tea Bag into your mix
  3. Stir it with anything that isn't made of metal
  4. Add the Bentonite Clay until the mixture has the consistency you want it to have
This is what mine looked like!


My thoughts on this? 

The first time I tried mixing a Bentonite Clay face mask I felt like the clay didn't properly mix with the water, but as I said above- this could be because I used a metal spoon. This time it definitely mixed, but I am guessing it mixes better with the mix if you do Not put oils in your mix. My mix took ages too hardened, I think it was because it wasn't mixed too well nor distributed too well in my face and I also put quite a thick layer in my face. Next time I might try putting a bit more water in my mix.


Results?

Oh my god. Results definitely exceeded my expectations. I knew that your face could get a little bit red from using this, but due to my mud mask taking long to harden, I left it on for like 30 mins while I was showering. My face was soo red. It didn't hurt or anything but I literally had a line in my face where I was red from the mud mask.

Anyway, surprisingly this just left my face suuuupersoft. Like I exfoliated it, which it didn't really because I didn't have any scrubbing beads in it. Maybe my face was so clean that it just felt soft, either way this i definitely a keeper and I will be using this face mask recipe again!

Have you tried a Bentonite Clay face mask?
& do you have any other DIY face mask recipes, if so, link them :) 

xx


Check out my other natural DIY's here, where I've got recipes of Lip Balms, Lip sticks, Deep Conditioners, Protein Treatments, Body Scrubs and much more.


*Apple Cider Vinegar

Read more »

Nov 13, 2012

♥ Eyebrow Plucking Chart

How to pluck your own eyebrows, and eye brow plucking chart


I thought I'd take the time to show my disgusting not-plucked-for-a-week-eyebrow. Yeah I really think un plucked brows look disgusting lol. So in this picture you can see a clear difference between my un plucked brow, and my newly plucked brow. My natural brows, I'd say are really bushy, like man brows lol! This means I constantly have to pluck them. I have never had anyone else but myself touch my eyebrows, and I've never had them threaded.

Here comes my own eye brow plucking chart for you :)


Tips for eye brow plucking with NO pain at all:

  • A GOOD tweezer is essential. Can be either expensive or cheap, you just have to look around.
  • When your plucking, don't just "drag" the hair out. Stretch the skin surrounding the area, and pull it out in the Same direction in which it is growing.
  • It's a myth that you can't pluck above the brow, you can- but be careful, it's not likely that you will change the shape of your eyebrow here, only pluck excess hairs.
  • If you have a big issue with pain when plucking, hold an ice cube against your skin just before starting to pluck, to numb the area.


How do you do your eyebrows?
Thread, pluck, salon, at home?
xx

Check out my old eyebrow tutorial too (here I show how to use your tweezer to determine the shape):


Read more »

Apr 22, 2012

♥ DIY: Soothing Aloe Vera & Orange Body Scrub

Soothing Aloe Vera & Orange Body Scrub


I just wanted to share this Aloe Vera & Sweet Orange Oil body scrub. I love making my own body scrub because it's easy, you have most of the ingredients at home and you can alter it the way you like it.

In my body scrub I used:

-Almond Oil
-Jojoba Oil
-Castor Sugar
-Aloe Vera Gel (99%)

How to alter your scrub for your skin type, usage and how long you want it to last:

Use Aloe Vera Gel:
- Most Aloe Vera gel will have a preservative in them, use Aloe Vera Gel if you want your product to last longer.
-It's soothing, so use it on sensitive, sunburnt or skin you just shaved.
-If you don't want any oily residue on your skin after using the scrub, use a larger quantity of Aloe Vera. Otherwise, use more oil and you won't need to use body lotion afterward.

Coconut Oil:
-If you want your bodyscrub to be more solid. Coconut Oil is solid at room temprature and melt when in contact with your skin.

Sugar:
-Use finer sugar if you want a more gentle scrub, like an everyday scrub or a face scrub.

Essential Oils
-As a perfume, use any essential oil that you think smells nice like: Sweet Orange Oil. Peppermint Oil gives a cooling sensation and can feel refreshing, Lavender Essential Oil is calming and Tea Tree Oil is anti septic.

Do you make your own body scrub?

x


 Twitter  || Facebook || Bloglovin || Hello Cotton || Pinterest
Read more »

Apr 3, 2012

♥ First Video Tutorial- Pastel Leopard Print Nails

Hi Everyone!

So I've just done my first video tutorial. This one is on how to create leopard print nails, this is the second time ever I've done it, the first time is the one that you can see in my header.

This time I used a slightly different method to create them.
If you like it, pleae give a thumbs up :)


I hope you liked it! Also, it's only my third time using iMovie so I really hope that the tutorial is good enough to understand. Was really struggling to place my camera as well to show my nails, so I ended up placing it awkwardly on a pillow on my bed lol.


I finished of with Seche Vite top coat.

Was the video ok?
Have you made leopard print nails, if so, share the post with me :D

& did you use another method?

x


 Twitter  || Facebook || Bloglovin || Hello Cotton || Pinterest
Read more »

Mar 1, 2012

♥ £3 Red Pout?

I wore this post today so I thought I'd share my tips for the perfect (and Cheap!) Pout.

The lipstick I use is £2 and the lipliner is £1.

-I use a concealer brush and my concealer to "draw" a line around my lips (around the lip line) (I used Sleek Concealer)
-Then use a lipliner to fill in your lip line (I use one for £1 from my local hair shop)
-Apply your lipstick, with a lip brush for the best result (I used my favourite one from Boots from Natural Collection £2)


 What are your tips for the nice looking and long lasting lipstick?

x


Read more »

Feb 22, 2012

♥ Green MUS eyeshadow tutorial


Oh, forgot to write when I edited the pics.. The green eyeshadow is from Make Up Store and the make up palette is from Isadora.
Read more »

Feb 3, 2012

♥ How to fix a broken eye shadow

How to fix a broken eye shadow?

So most of you probably know how to do it, so did I but I had never tried it.. so I decided to give it a go.
Here's the result..


Have you tried it & did it work for you, did you know about this?
x
Read more »

Jan 17, 2012

♥ How I do my: Eyebrows

Every make up post I put up I get an awful lot of comments on my eyebrows..thanks for that! <3

So I decided to make this post on how I do my eyebrows.

- To start with, I've never gone to get my eyebrows threaded or plucked or anything like that.
- My natural eyebrows are probably twice as thick, and I've always plucked my brows myself.
- If you have over plucked eyebrows that won't grow, try applying Castor Oil every morning and evening. Also make sure you use a eyebrow gel with Keratin like the one I wrote about below.

 My natural brows, not filled in on no make up on my face.


If you want to pluck your own brows, make sure they are proportional. Use the tweezer to decide were the brow should start. Put it next to your nose like in the pic.


 To decide were your brow ends, do the same, but place it sideways, as in the picture.


What you need: 

A good tweezer, like THIS Tweezerman one. Mine says Vitry and is bought in Sweden, to be honest I though Vitry was just another name to Tweezerman but I'm not sure, anyway you can use either one.


An eyebrow pen OR eyeliner. To be honest, there isn't a difference. I find that the eyeline is a bit sharper that's all. 


Before filling them in, or if you Dont fill them in it's handy to use an eyebrow brush. You can use anything from an actual eyebrow brush, to an old toothbrush or, like me, and old mascara brush.


 Eyebrow gel OR a clear mascara, works the same way- to keep your brows in place.
This one is Not dirty lol, it's just gone grey from being mixed with black mascara. This one is £2.99 from collection 2000 I think, it's contains Keratin which is obviously good for your lashes so I would recommend this.


My brows filled in. 


Do you do your brows yourself?
And do you thread or pluck, or wax them?

x
Read more »

Jan 2, 2012

♥ How I do my.. ?

Eyeliner

So a few people have complimened me on how my eyeliner looks.. so I decided to do a little tutorial.

I tend to do everything "backwards" so I really doubt anyone else does it this way..

or do you

Either way you do it, this is a useful tip to get the angle of the liner right..


 So this is how I do my eye liner.

1. Draw a line to get the angle right.. I usually dont use the pencil tip to do that but if your struggling it's useful.


2. Fill the outlines in.. to get the right shape


3. Fill in the rest!


My eyeliner the other day.. the pic above was just for the tutorial :)


And this is the eyeliner I use.. liquid eye liner from 2True.. only £1.99!


Read more »

Dec 19, 2011

♥ Make your own lipstick

I've got this old lipgloss/listick palette that I absolutely love, the colours are really pigmented, but they don't come out dry like some lipsticks can.. but I've used up all the pinks since I usually wear pink on my lips.

Then I've got one Mac lipstick (bright pink) that I really HATE, it makes my lips look chapped lol and it really doesn't look nice at all..

So I decided to mix them together and make the perfect lipstick ;)

I added Shea Butter and a tiny bit of Olive Wax to make the right consistency (you can use Vaseline, but I dont use mineral oil) and it came out great.

Oh you can also add peppermint oil for a soothing feel on your lips and nice smell (I forgot to do this lol)

The result


A way too big tin from Superdrug.


Put a bowl like this in a pot of boling water (lower it when you put the bowl in)


 The old lipstick/lipgloss palette


 So I DID take pictures before I used everything, only thing is I didn't have the memory card in it was in my Macbook, and in my new camers it doesn't save in an internal memory (!?) so they were all gone by the time I finished haha.

Bright pink Mac Lipstick, Light pink Bodyshop lipstick, Medium pink shimmery Collection 2000 lipstick.


 I added a tiny bit of olive Wax and almost a teaspoon of Shea Butter


 Have you tried this, and what do you think of the result?

x


Read more »